Getting started#
Neptune Service Shutdown - March 5, 2026
Following its acquisition by OpenAI, Neptune services will be permanently discontinued.
All remaining data will be deleted at shutdown and cannot be recovered.
See timelines, export instructions, and migration guides in the Transition Hub.
The following is a quick procedure for getting set up in a typical environment. Fore more installation details, see Install Neptune.
-
Install the Neptune client library:
-
Set your Neptune API token to the
NEPTUNE_API_TOKENenvironment variable.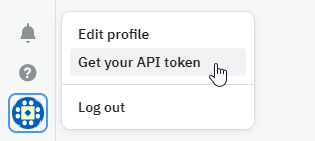
To have API tokens for sharing or non-human accounts, you can create a service account.
-
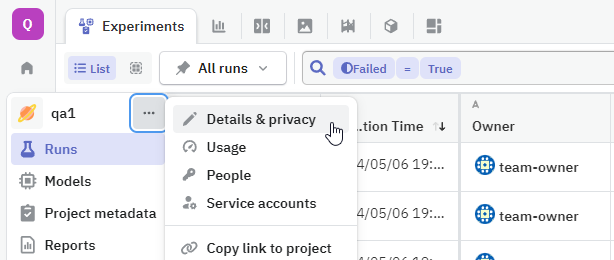
Set the name of your Neptune project to the
NEPTUNE_PROJECTenvironment variable.You can copy the full name in your project's Details & privacy menu.
For more detailed instructions, see the pages in the left menu.
All set
You can now import Neptune in your code and start logging.
-
We don't recommend it, but you can also pass your info when initializing Neptune:
Neptune also integrates directly with the most popular ML frameworks. Instead of manual logging, you can use the integrations to log typical metadata. For more, see Integrations
Next steps:
- Do the Quickstart to run a basic logging example.
- See Add Neptune to your code for beginner tips.
- View how-to guides and examples of Using Neptune